Launch Your Online Store in 2024: The 15-Point Ecommerce Checklist

Congratulations! You’ve poured your heart into creating amazing products, crafted a stunning brand identity, and built anticipation with your social media channels. Now you’re ready to unveil your masterpiece – your Shopify store!
Hold on a sec. Excitement can cloud judgment, and there are crucial steps you might overlook in the launch frenzy. This comprehensive checklist ensures a smooth and successful debut.
Beyond Appearances: Are You Ready for Business?
Your website and brand might look polished, but a successful launch goes deeper. Here are some key questions to ask yourself:
Search Engine Optimization (SEO): Can potential customers easily find your products online? Optimize your product pages to rank higher in search results.
Marketing Plan: Do you have a strategy to reach your target audience and generate excitement about your brand? A well-defined marketing plan is essential for driving traffic to your store.
Essential Pages: Does your website have all the information customers need? Include critical pages like FAQs, a Contact Us page, and clear return policies.
We’ve compiled the ultimate ecommerce checklist to help you avoid these common pitfalls and ensure a seamless launch. This list covers every detail, from technical aspects to customer experience, so you can focus on what matters most – making your online business a success!
💡 Tip: Bookmark this Shopify store ecommerce launch checklist and check back when you’re about to launch.
Ecommerce store launch checklist
- Add sales channels
- Create a custom domain for your ecommerce site
- Review your checkout experience
- Build your website’s essential pages
- Review your automated emails
- Set up analytics and tracking
- Brush up on ecommerce SEO and optimize your store
- Optimize all images on your website
- Build a pre launchmarketing plan
- Set your tax and shipping rates and settings
- Review your customer contact options
- Install helpful apps and integrations
- Set up your billing information
- Get your back office in order
Let’s dive into each of these items on this launch checklist to ensure that your ecommerce business ticks all the boxes.
1. Add sales channels
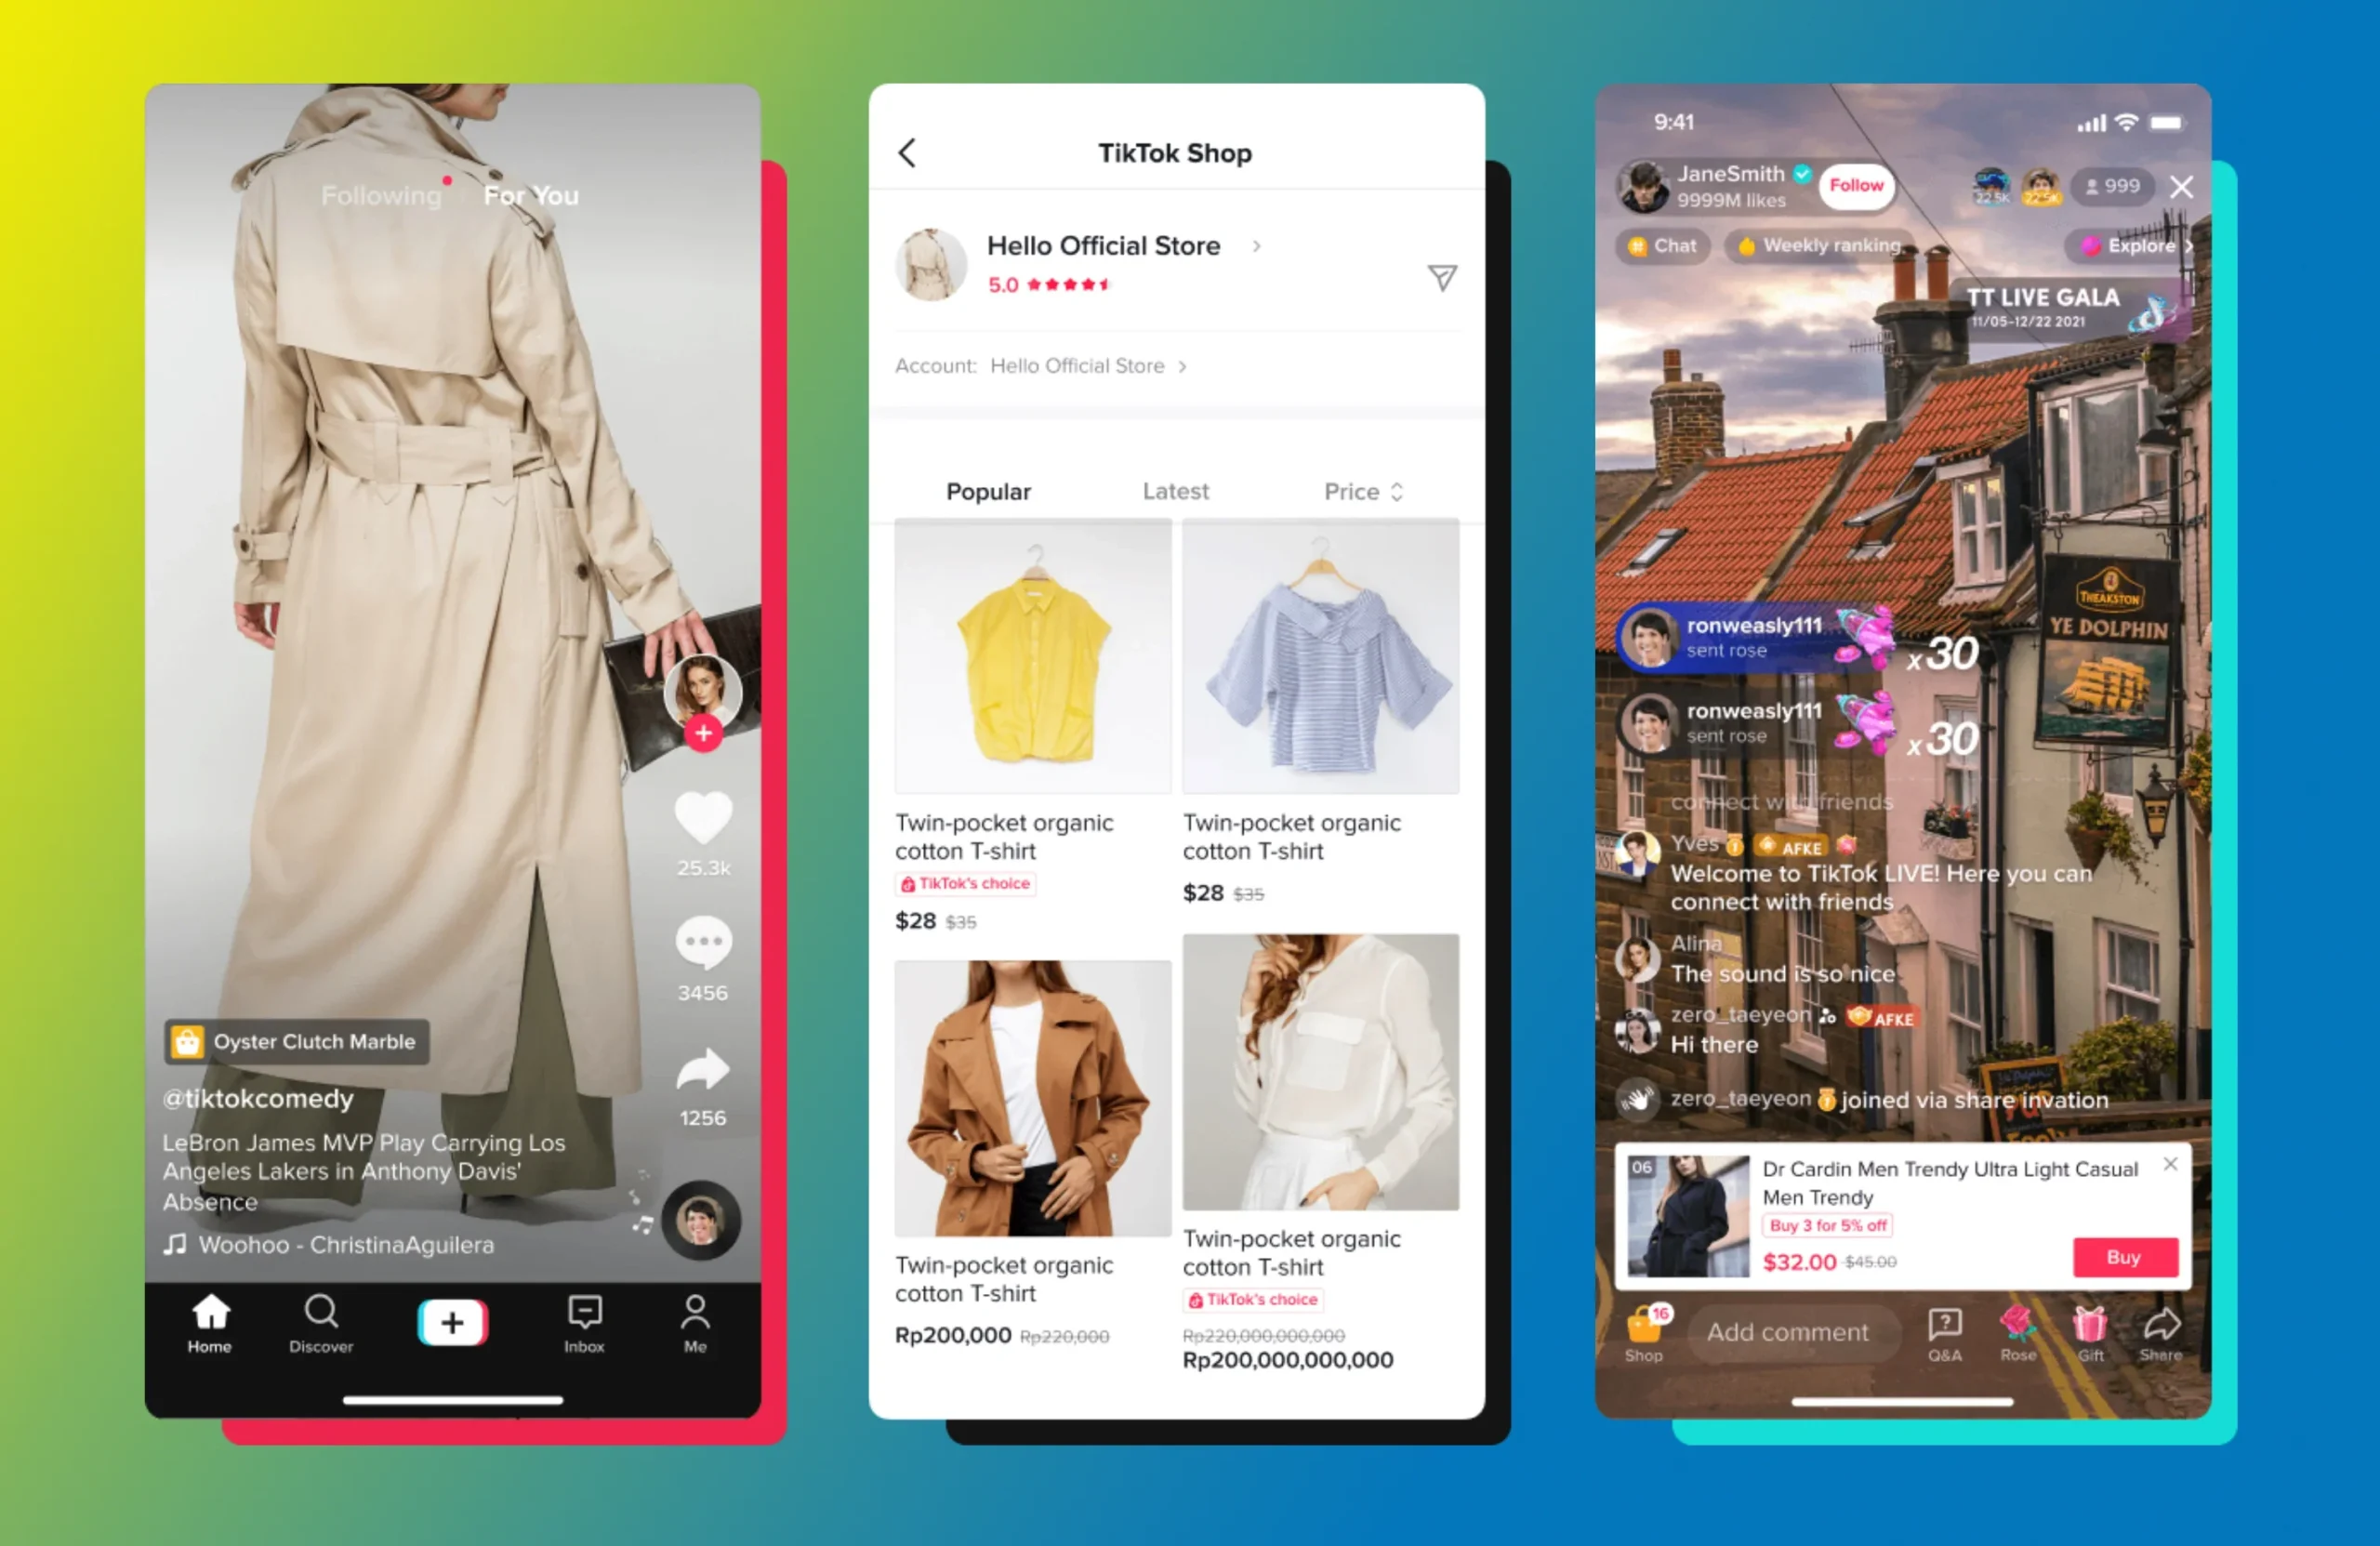
Consumers now expect an omnichannel experience from brands, as more turn to unconventional search sources like YouTube and TikTok to discover and buy products. Even the retail channel is making a serious comeback—half of Gen Z consumers favor in-store shopping, despite being online-native.
Choose the social media and marketplace sales channels that will work best for your brand, then add the available integrations to your store. Do market research to understand where your customers are hanging out and the channels they most often shop.
Some online sales channels you can add to your ecommerce site include:
- eBay
- Amazon
- Instagram and Facebook
- Google Shopping
- TikTok
- Buy Button and Checkout links
These channels connect with Shopify so you can easily keep track of orders, inventory, and customers across platforms.
2. Create a custom domain for your ecommerce site
Custom domains can give your site a brand recognition boost and make it easier for customers to remember your URL—and find you.
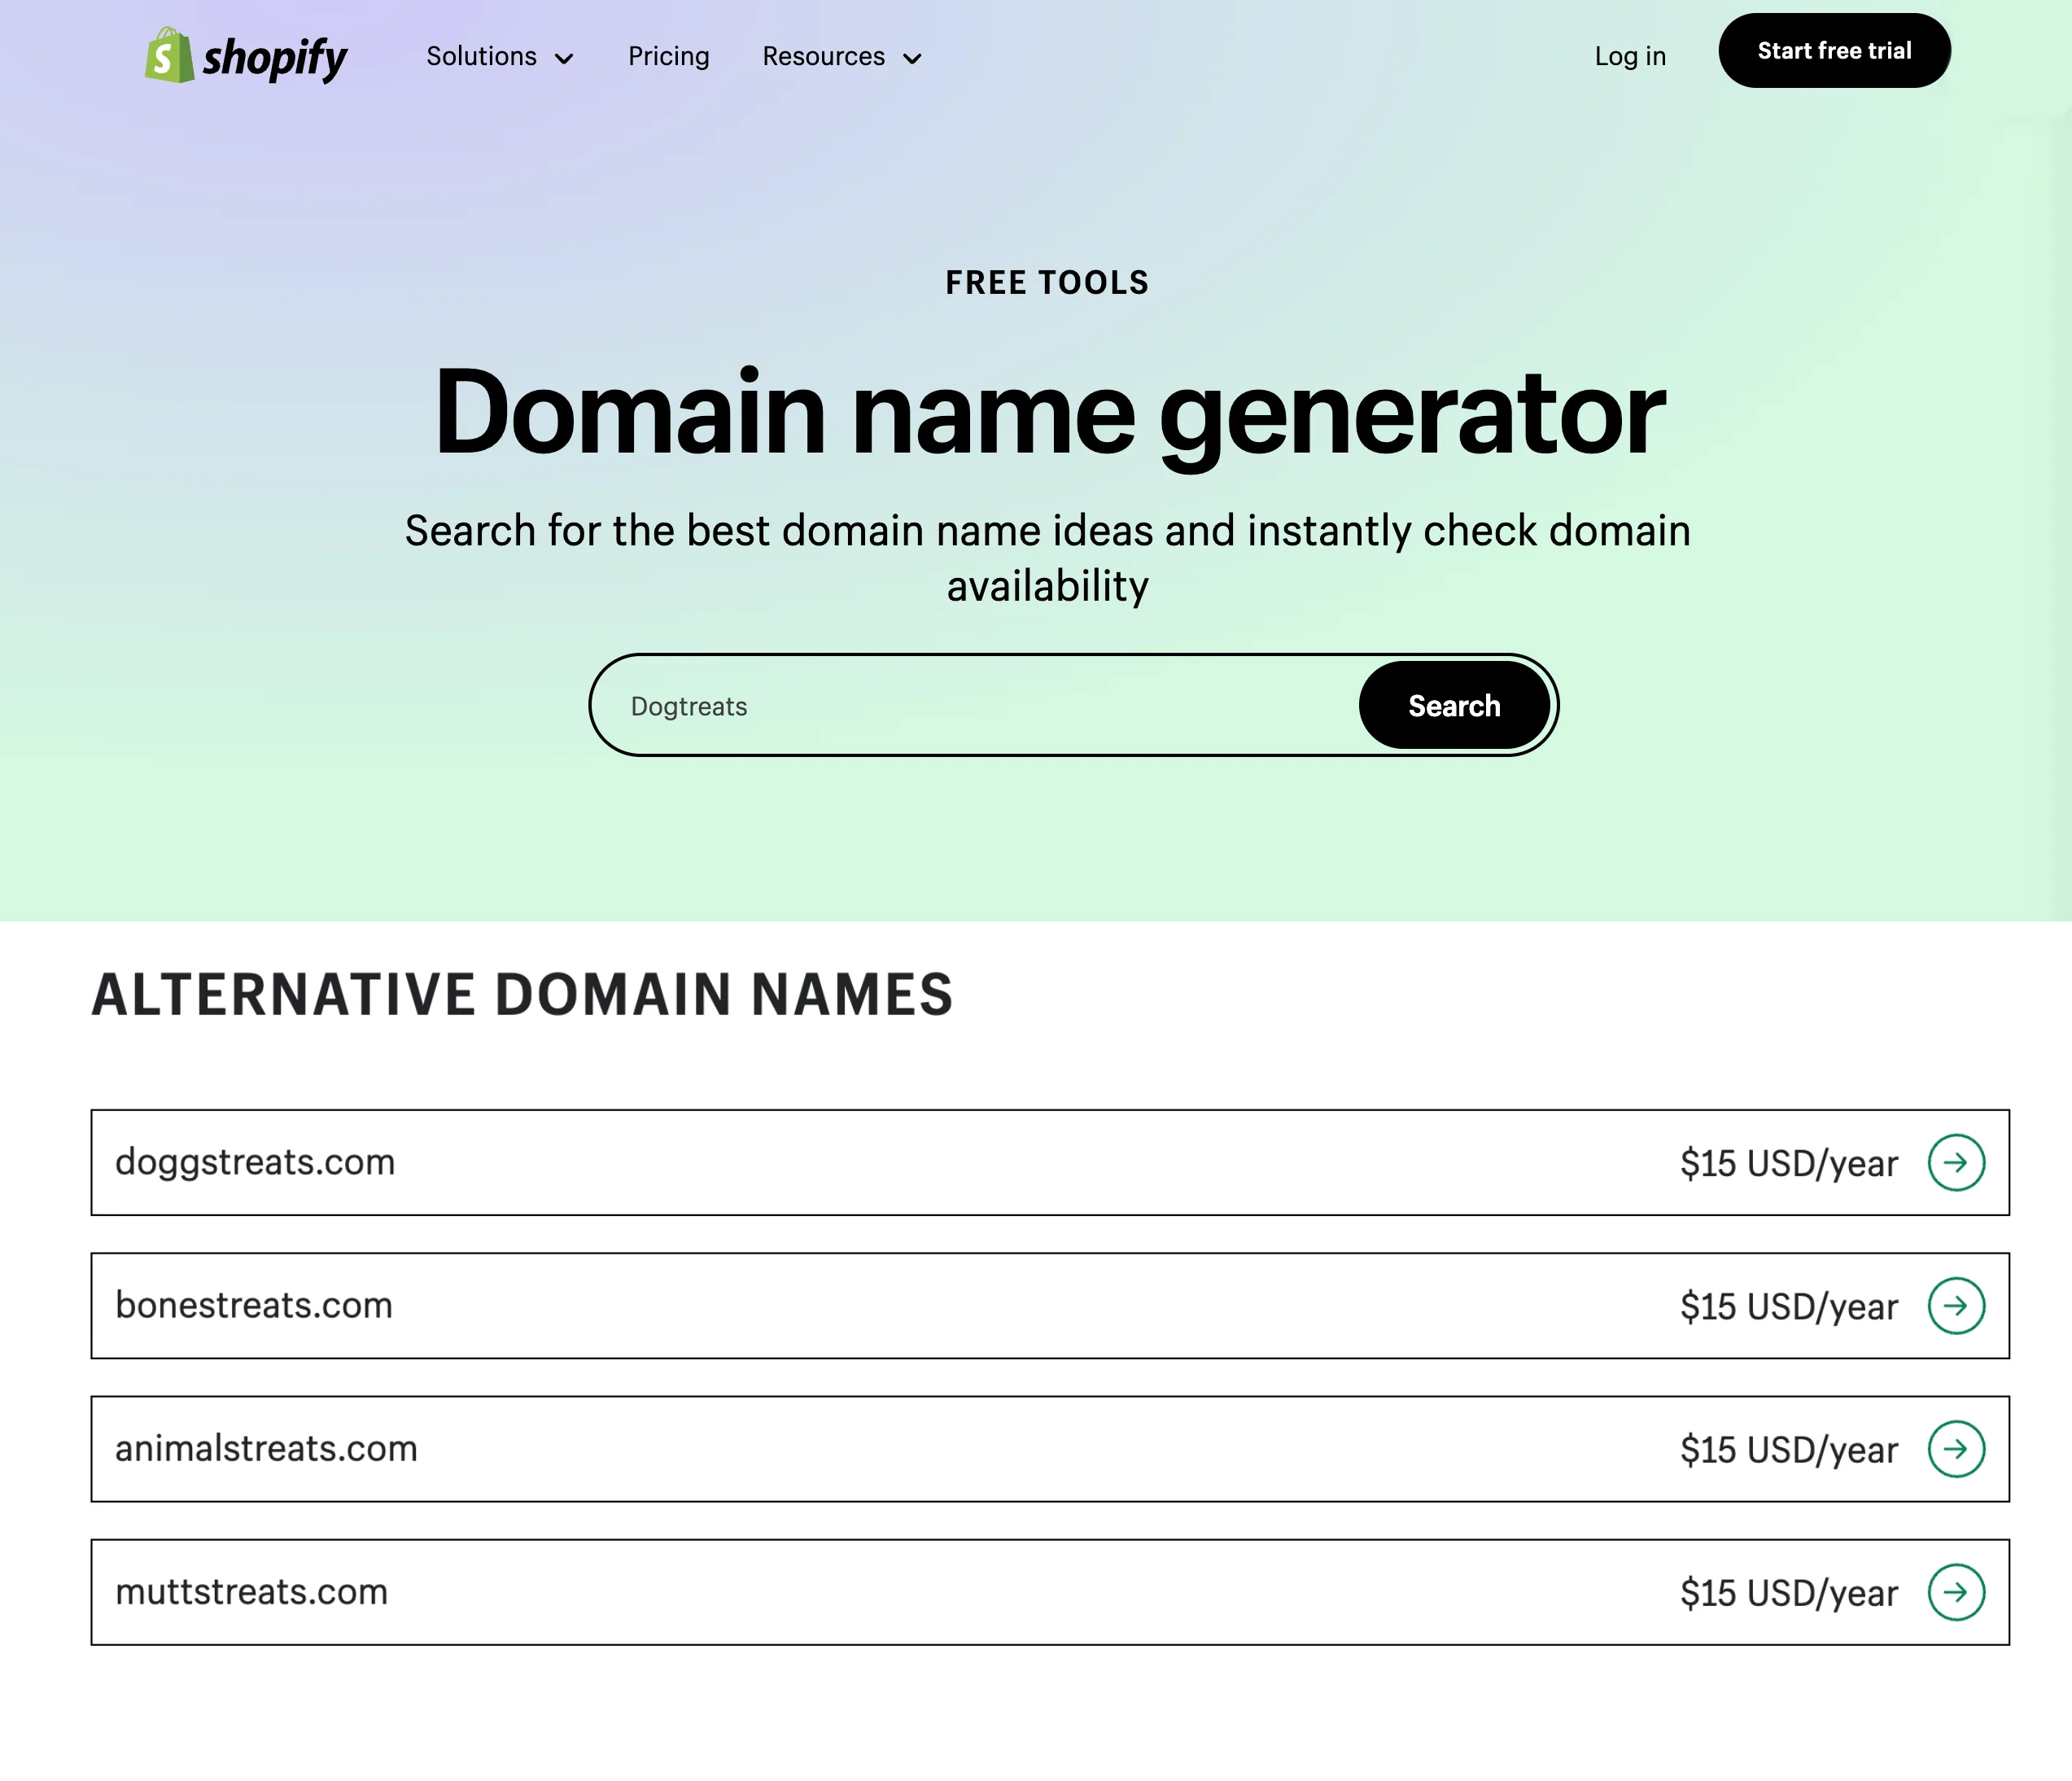
To get started, conduct a domain name search to see if your business name is available. If it is, and the name isn’t already trademarked by another business in your industry, you can purchase your custom domain name directly through Shopify.
If your first pick for domain name isn’t available, you still have options. Sometimes it will be challenging to get your desired domain, especially if your brand is a common word. Here’s where you can flex your creative muscle. Pepper, for example, chose wearpepper.com as its URL.
Experiment with top-level domains (TLD), too. A TLD comes at the end of a URL—common examples are .com, .edu, .net, etc. TLDs like .gov and .org are used by governments and organizations, respectively. Common TLDs for ecommerce websites include .store and .shop, but you can get creative here too.
💡 Tip: Use Shopify’s free domain name generator to find the perfect URL for your online store.
3. Review your checkout experience
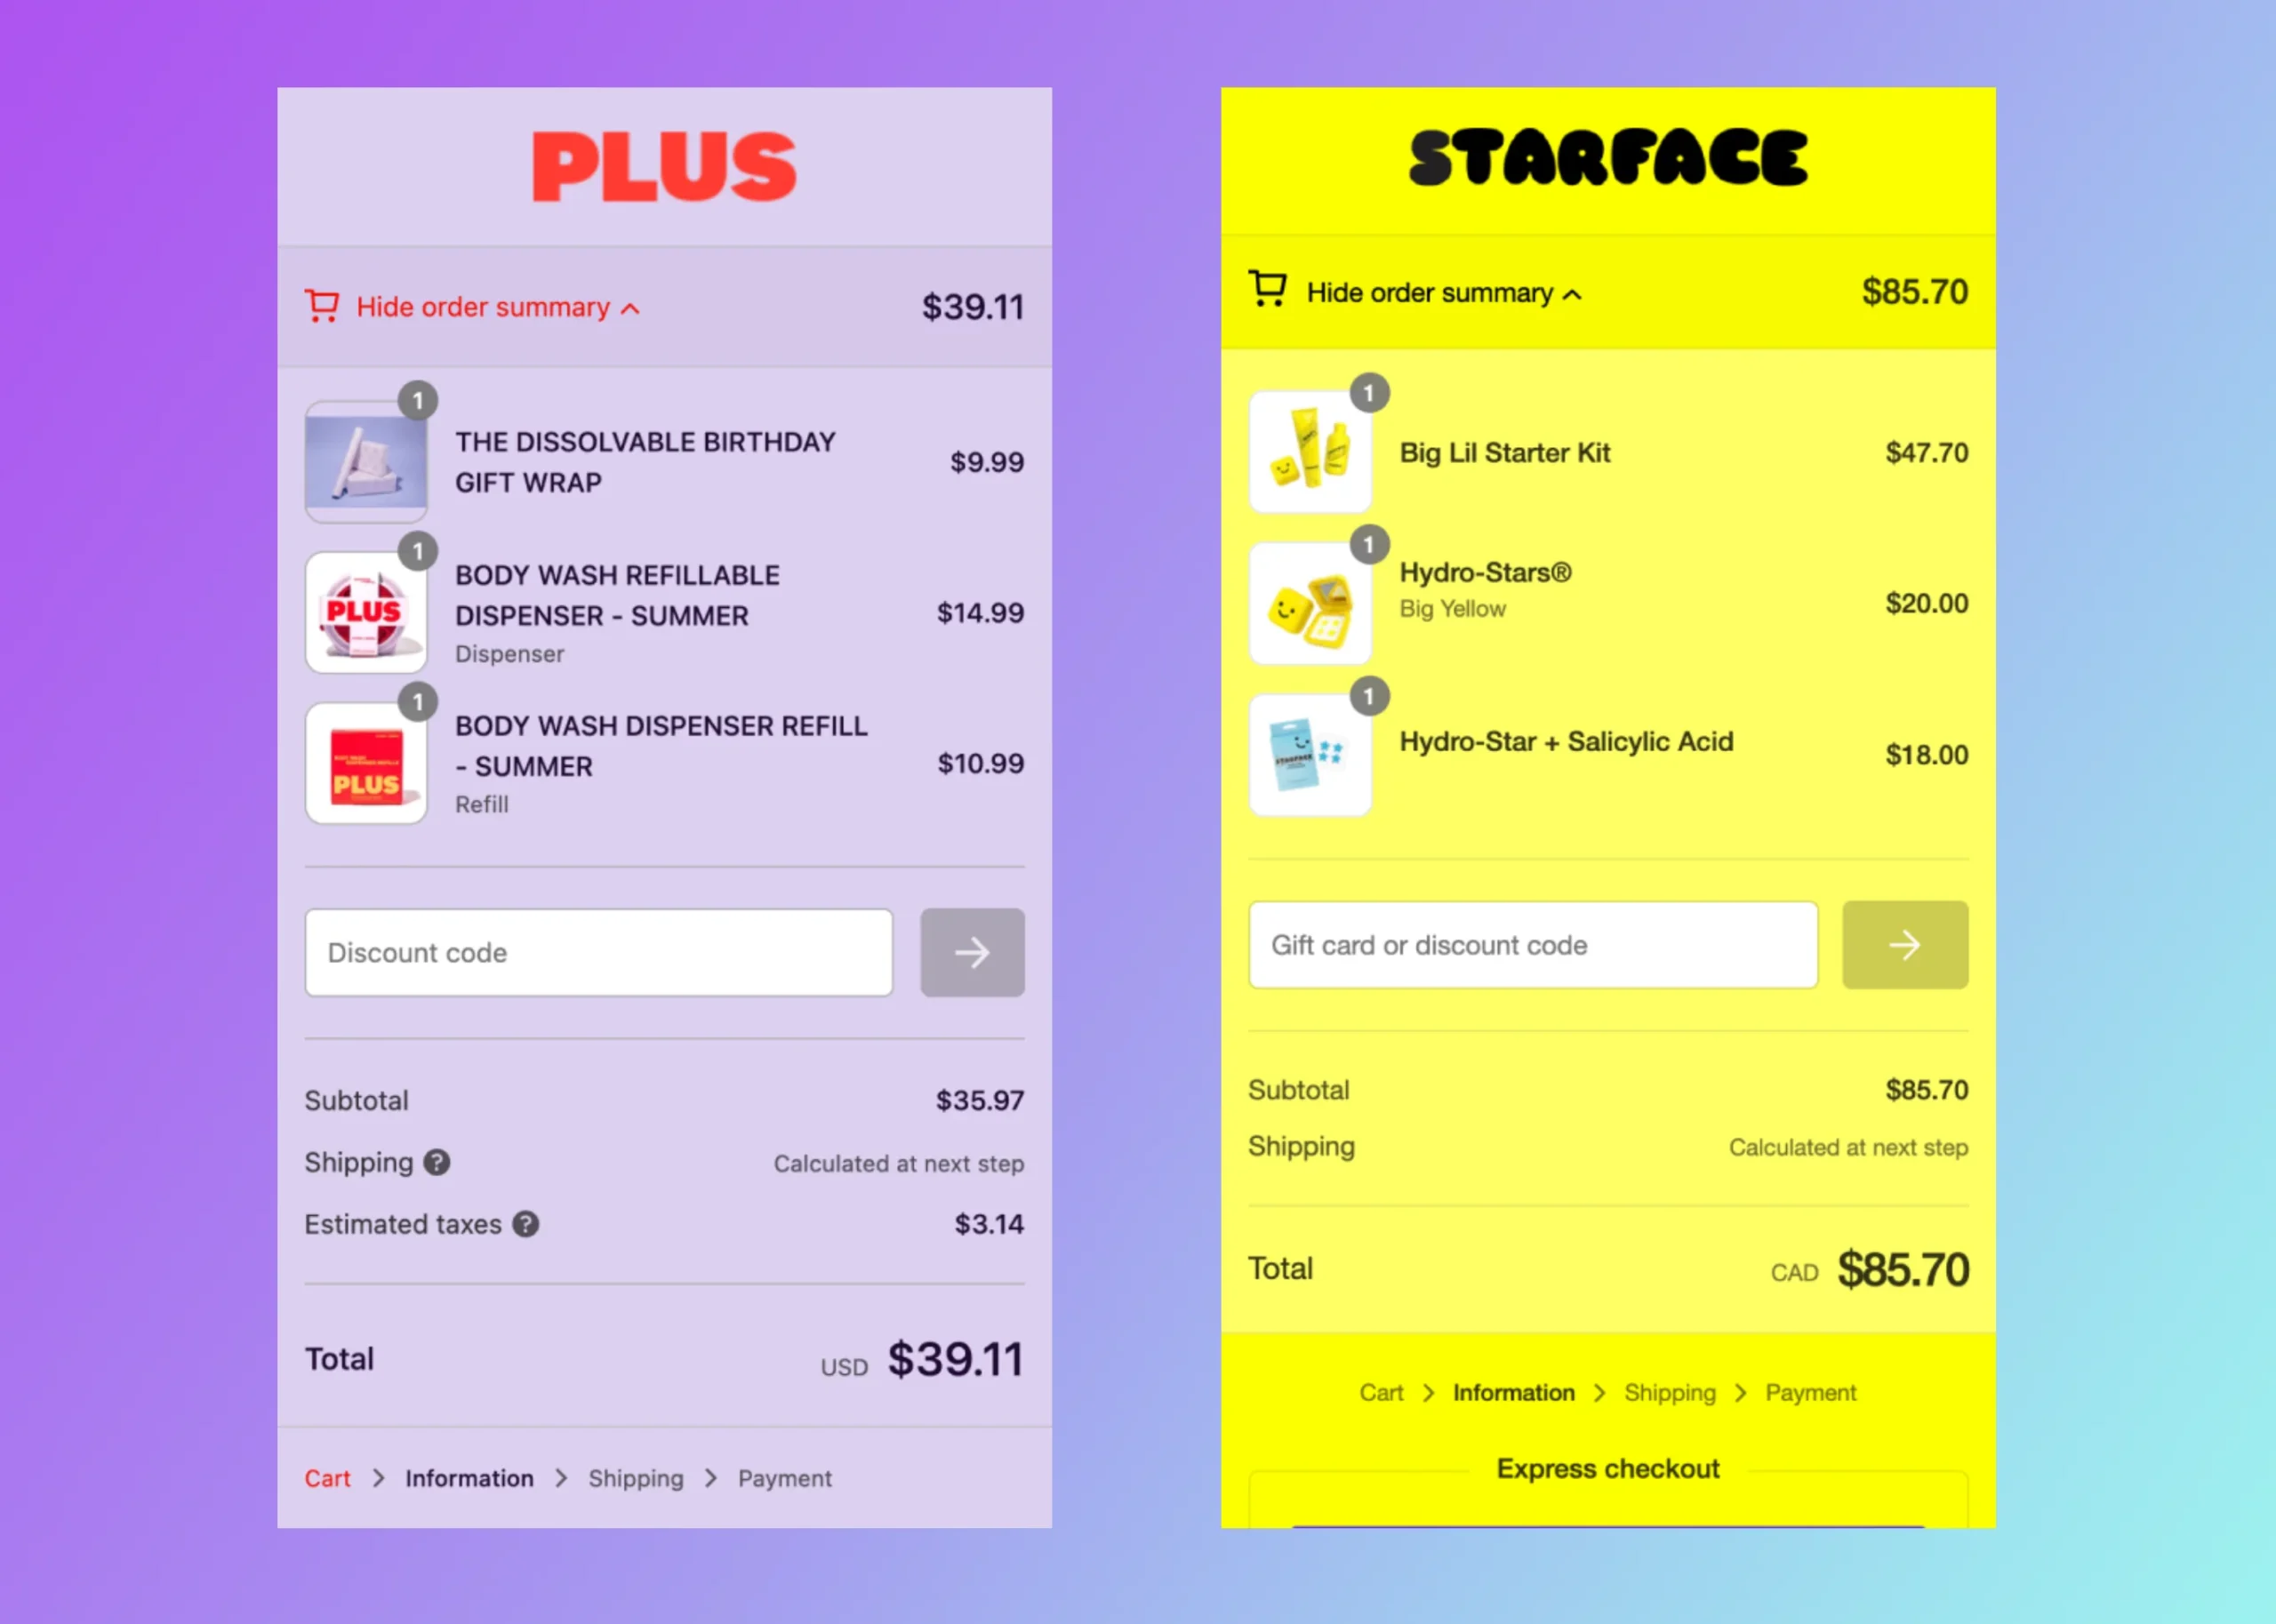
Before you officially open for business, be sure prospective customers can actually complete a purchase on your online store. According to an average of studies, the online shopping cart abandonment rate across ecommerce websites is over 70%. To combat abandonment, identify and fix errors and remove friction at checkout before you launch.
Mobile shopping cart page and checkout for stores Plus and Starface.
When testing your checkout process, ensure that:
- Shipping rates are surfaced on the checkout page, giving customers all the options for shipping times and level of service for their region
- Discount codes can be applied in the cart (test each code to make sure it works)
- A customer can edit their cart’s content (delete products, change quantities)
- Familiar payment methods, such as credit cards, PayPal, Google Pay, and Shop Pay are available
- There is an option for order status tracking
- The contact page can easily be accessed for follow-up questions or order amendments
- An automated email notification is triggered upon purchase
- A language selector, currency switcher, and international shipping policy are all available and working (if you ship outside your country or region)
💡 Tip: With Shopify Payments, you can place a test order on your site with a live payment gateway to make sure everything works. Make sure you test your checkout on mobile, too.

4. Build your website’s essential pages
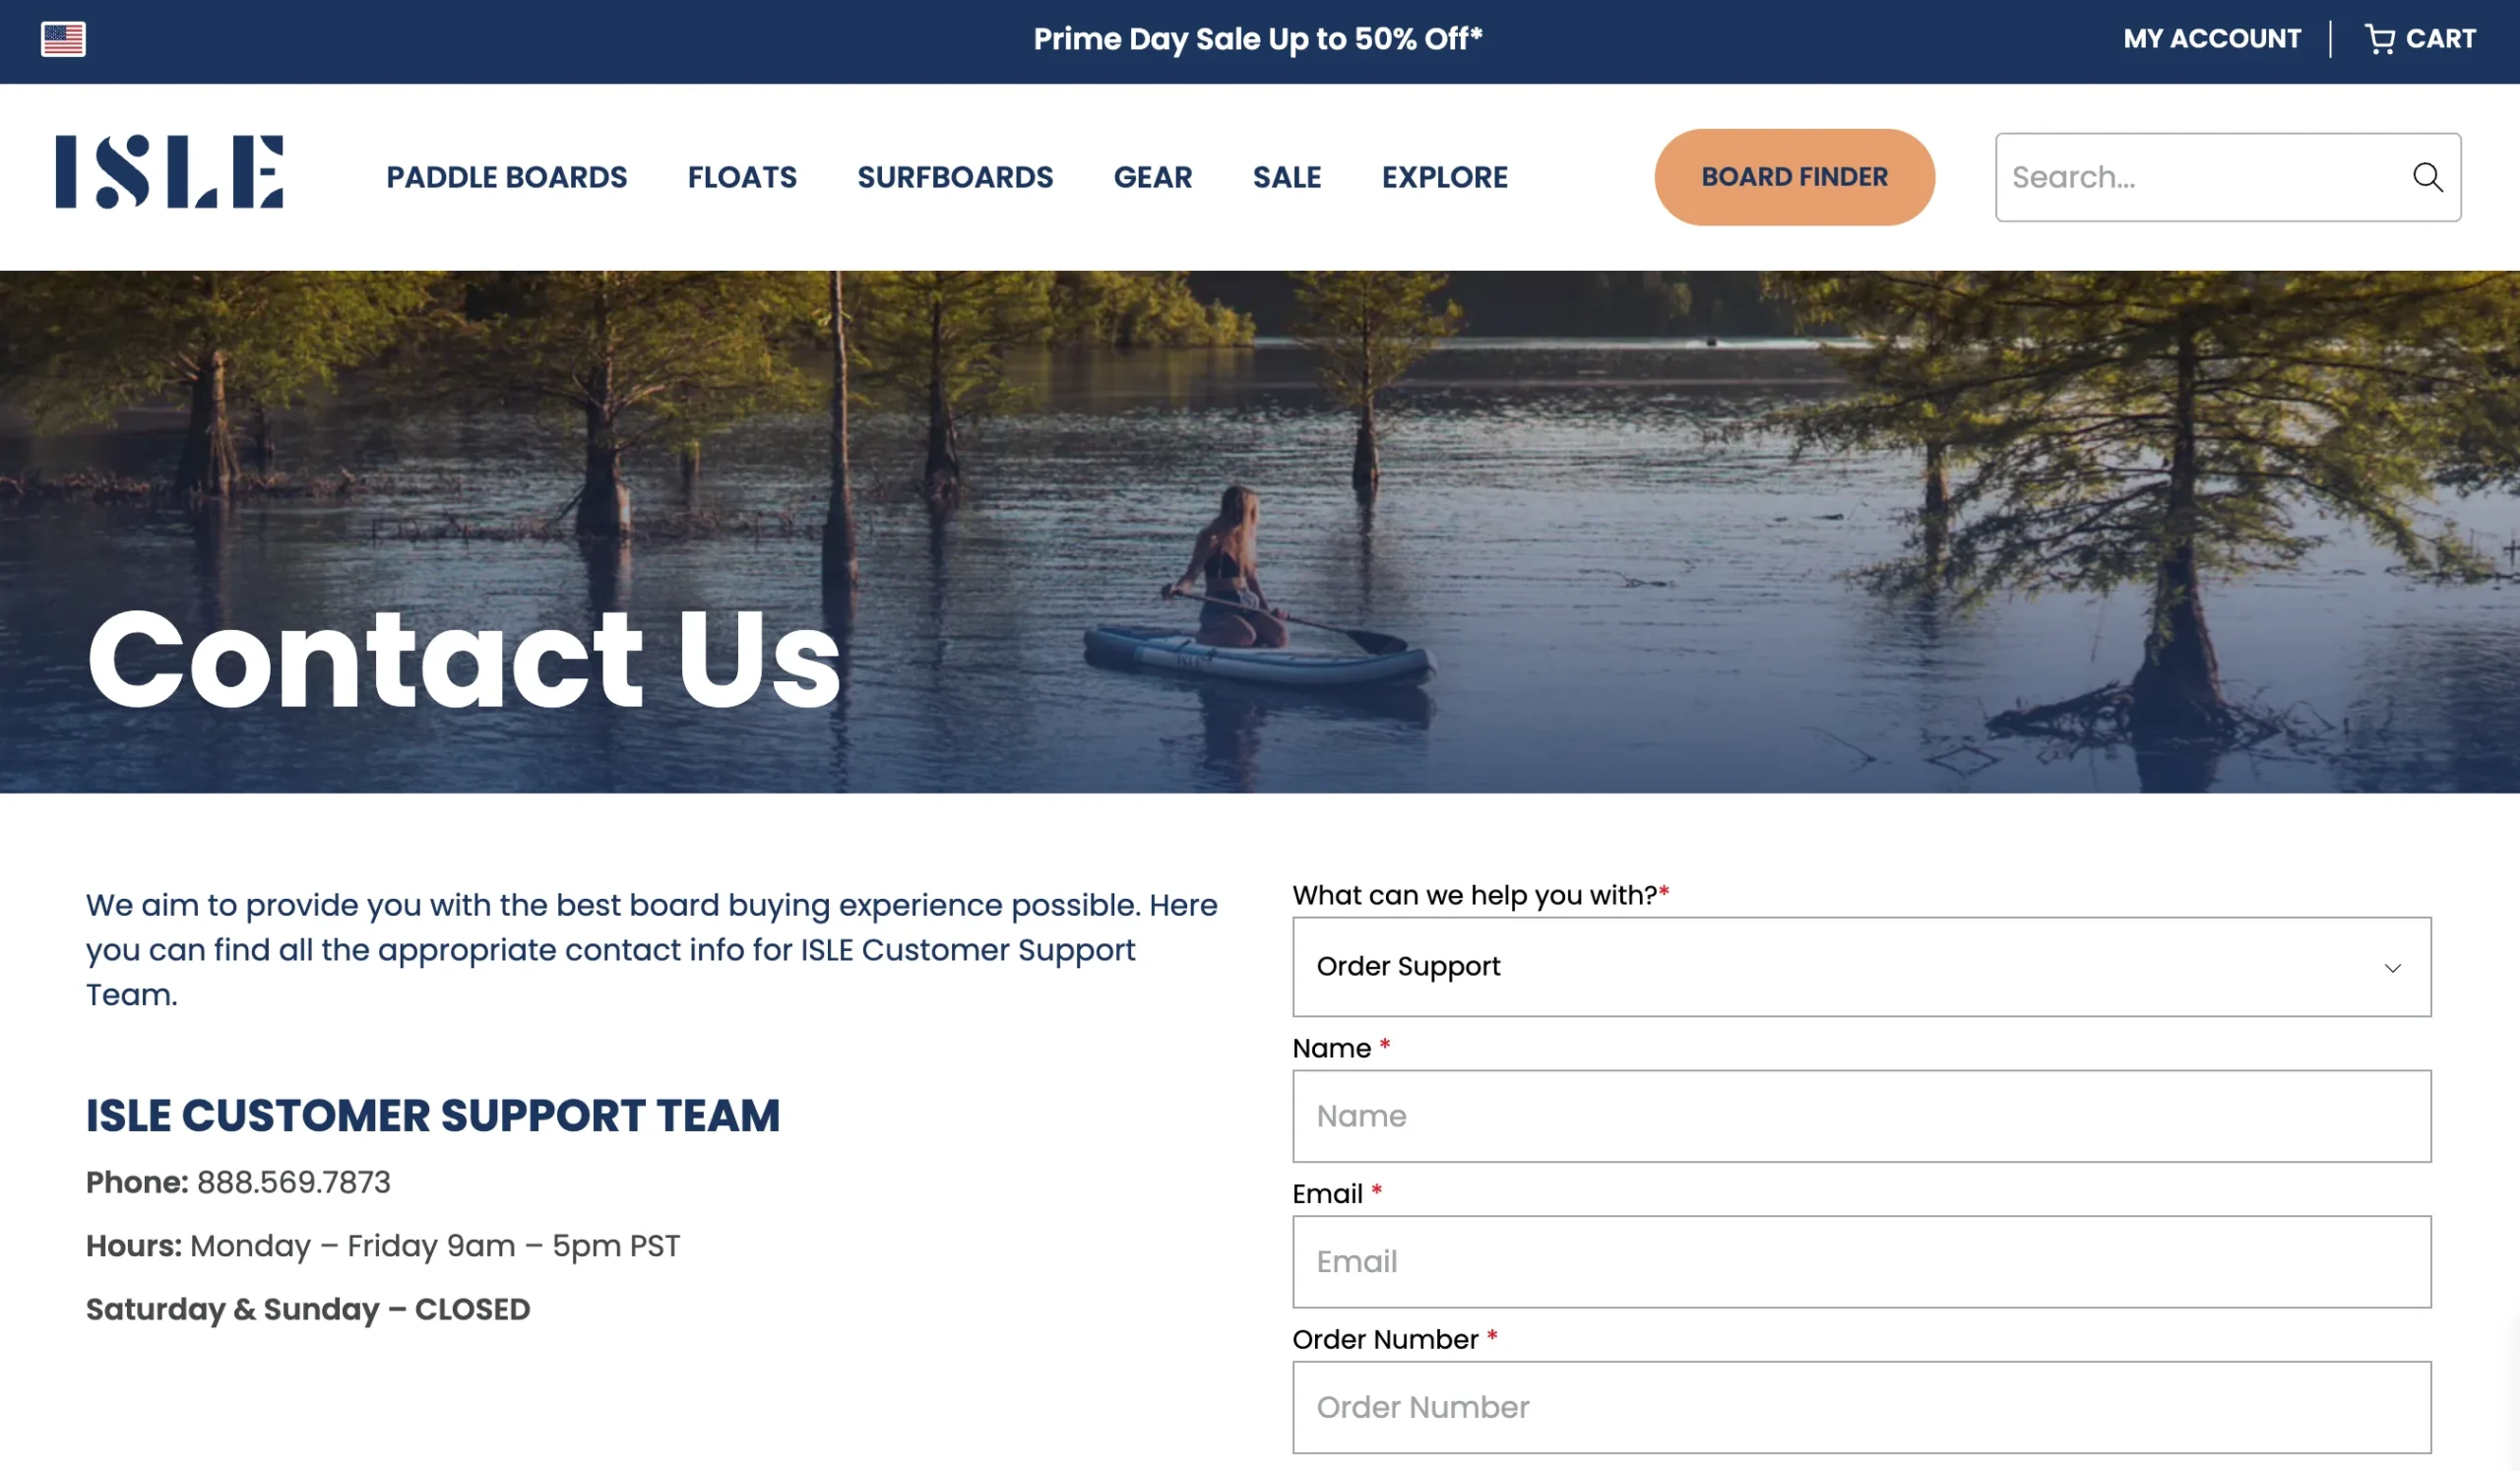
Store trust relies on critical pages on your website that signal to the customer that you run a legitimate business. These are pages customers have come to expect, and they contain information that helps your audience learn about you as a founder, understand your policies, and get in touch.
Based on research, these are the pages most recommended for online stores to include in their sitemap:
- Homepage
- Contact pageAbout page
- Frequently Asked Questions (FAQ) page
- Shipping and returns policy page
- Terms and conditions and privacy policy pages
Don’t forget about other pages like collection and category pages and product pages. Double check any promotion landing pages, your checkout page, and your shopping cart. Every customer touchpoint deserves your scrutiny!
💡 Tip: Employ the principles of psychological design to reduce cognitive load: place elements of the site in places that customers expect to see them, like contact info in the footer and drop down navigation in one of the top corners.
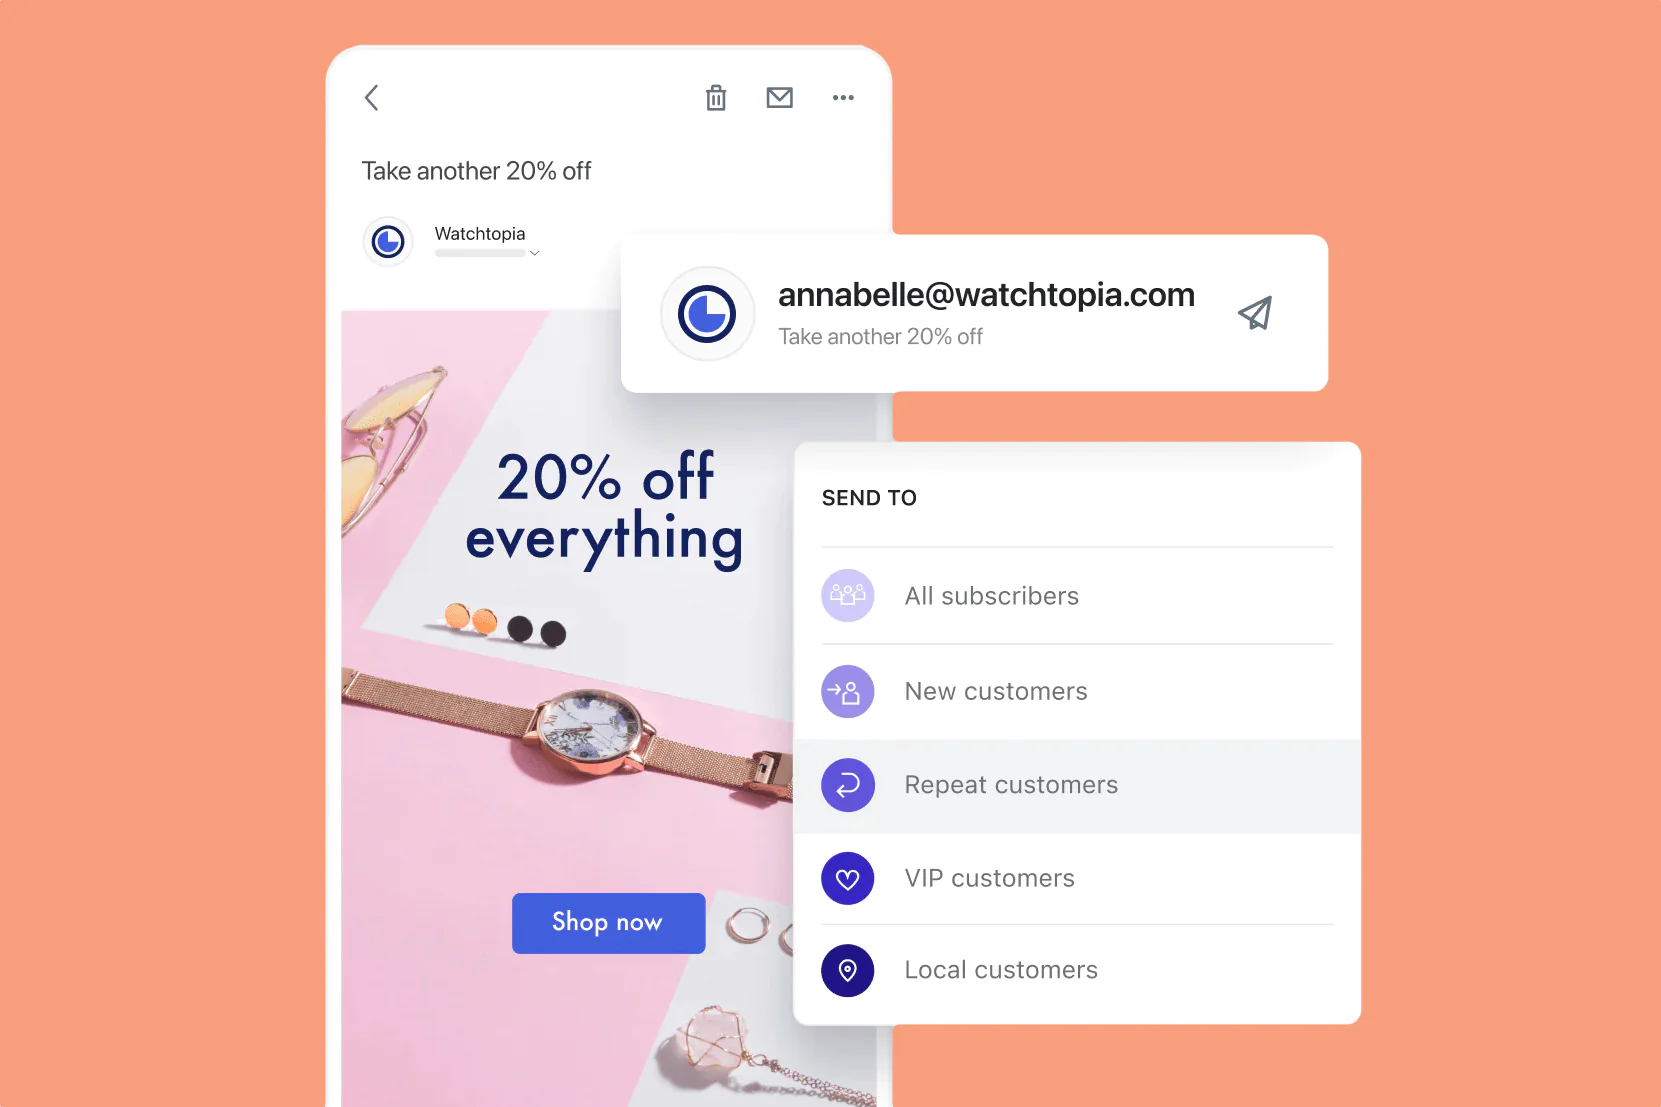
5. Review your automated emails
Every ecommerce business ower should consider adding email to their marketing plan when starting an online store. Email is also a useful tool to communicate important information to customers throughout their purchase journey.
For your business, there are several automated emails you’ll want to customize before launch. Edit your email templates and create sequences that nurture your subscriber list and ultimately drive sales.
Use Shopify Email as part of your overall marketing strategy and to automate your customer communications.
Set up an email marketing app like Shopify Email or a third-party app from the Shopify App Store and consider the following automated emails to add to your flow:
- Welcome series introducing your brand, products, and new customer promotions
- Order confirmations (receipts)
- Abandoned cart notifications (win them back with a discount code)
- Order confirmation emails
- Promotion emails to re-engage loyal customers
- Campaign and holiday shopping-specific emails
6. Set up analytics and tracking
It’s important to have analytics set up from day one. This data will give you valuable insight into your visitors and customers. Analytics tools can help you track how users are navigating your site, where they’re coming from, and where they experience friction. These insights can help you make improvements to your site as you grow your business.
Shopify Analytics are baked into the ecommerce platform, allowing you to get data right in your dashboard. You can also rely on tools like Google Analytics and Google Search Console, or look at more niche solutions. You can use a combination of tools to analyze specific aspects of your business, but be sure to track basic ecommerce metrics first.
💡 Tip: The Shopify App Store is packed with apps that integrate seamlessly with your store. Browse the analytics apps to find one that’s best for you.

7. Brush up on ecommerce SEO and optimize your store
If you start an online business, make sure your website shows up in search results when customers look for terms related to your product. That’s because, while social networks increasingly become go-tos for product discovery, Google still accounts for 40% of search. Search engine optimization (SEO) tactics can help you generate consistent, high-quality, and (best of all) free traffic. It all starts with keyword research.
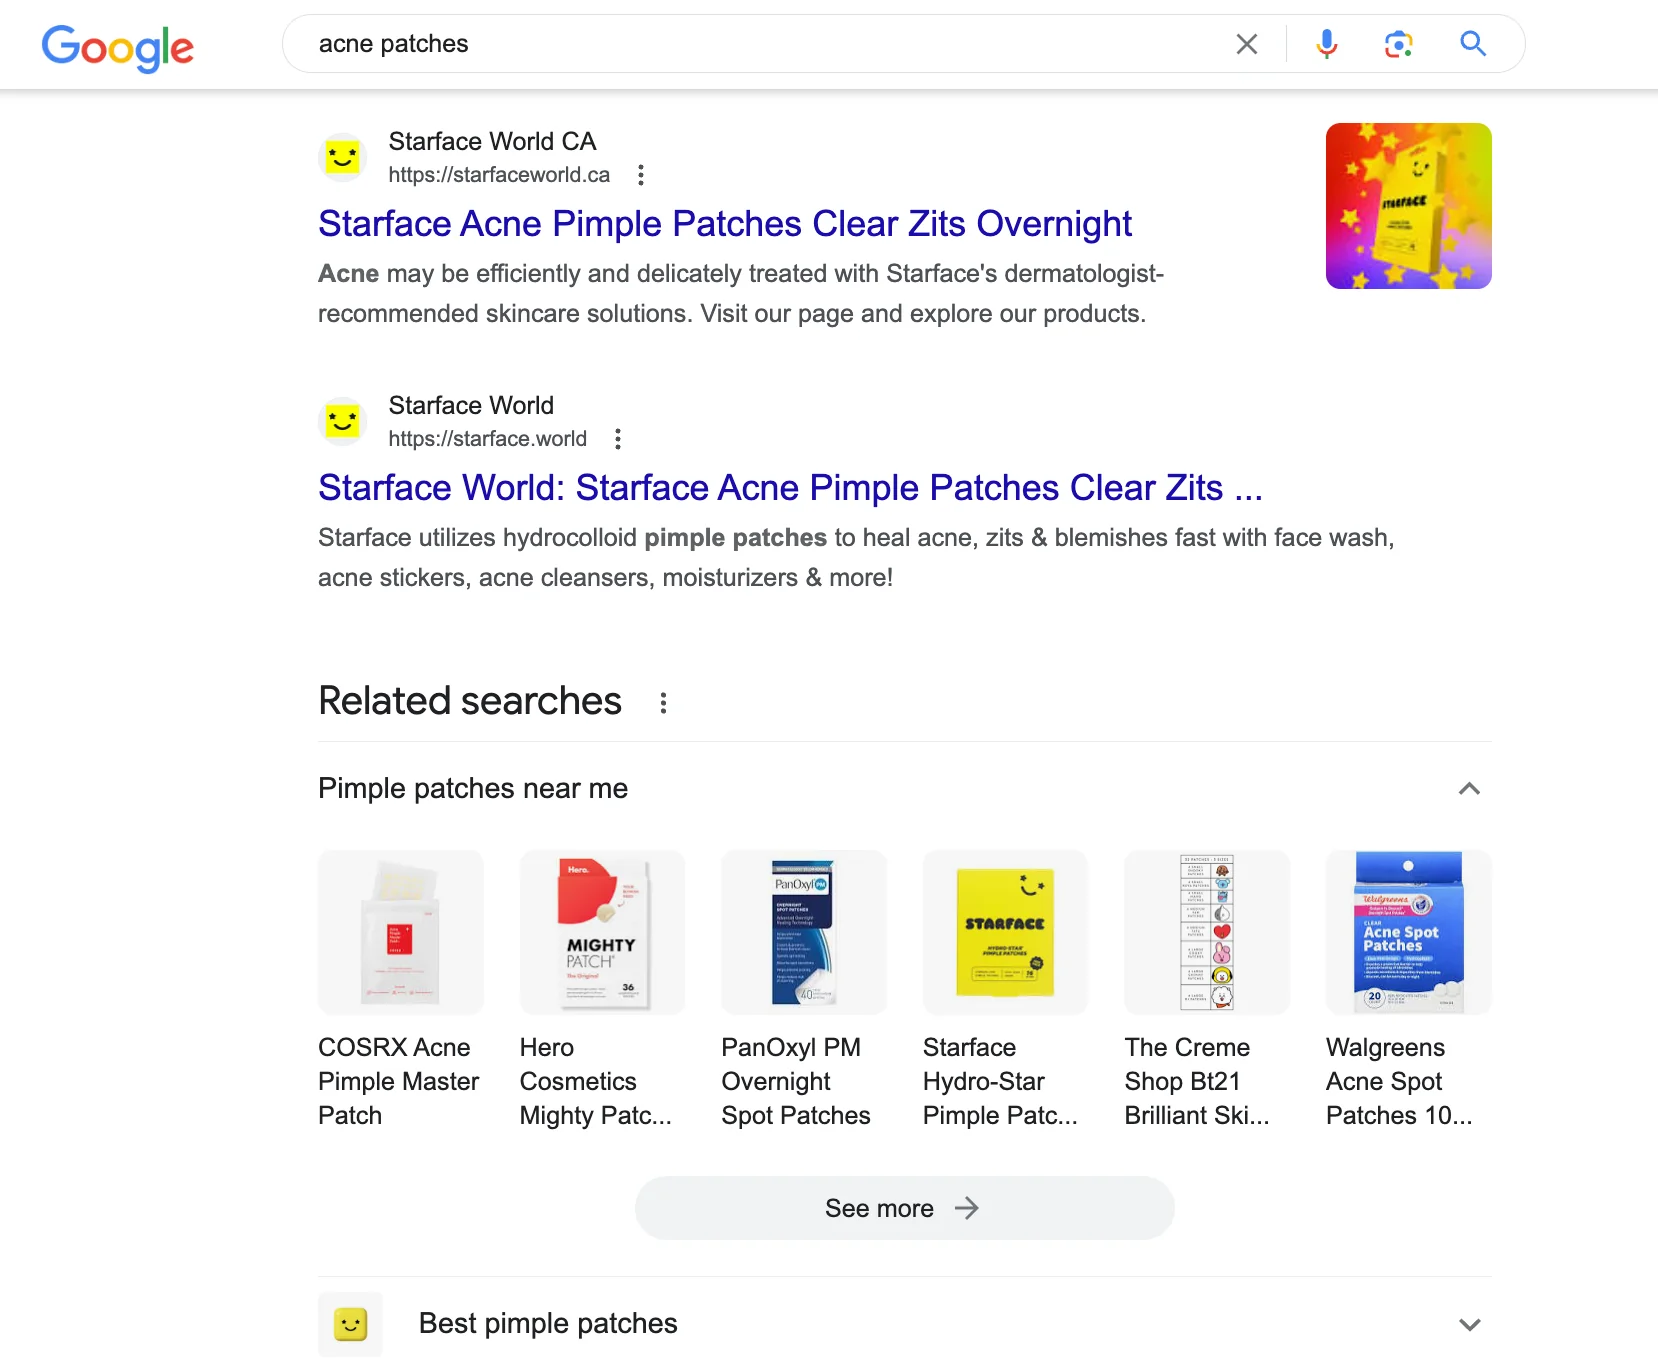
Because of the brand’s SEO efforts, Starface appears on the first page of search engine result pages (SERP) for the term “acne patches” alongside massive brands like Walmart and Sephora.
8. Optimize all images on your website
Images that load too slowly can affect user experience and performance in search engines—and slower load times can even lead to lower conversion rates. Be sure all images (including product images and lifestyle images) are optimized for the web to achieve faster load times a a better shopping experience.


9. Build a pre launch marketing plan
You’ll launch your site to crickets unless people know about it. The best way to spread the word is with a prelaunch marketing strategy. These are the actions you might take to build an audience or drum up anticipation for your launch. While marketing is an ongoing task for your ecommerce business, the prelaunch strategy is an especially critical one.

10. Set your tax and shipping rates and settings
Check that your shipping rates are appropriate for the products you’re selling in the places you’re selling them. Otherwise, you could eat into your profits, covering the difference between your posted shipping rates and the actual cost of shipping.
It’s important to nail down your tax settings, too. Depending on where your business and customers are located, you might need to charge sales tax and remit it to the government at tax time. If you sell in multiple regions, an accountant can help you get set up.
11. Review your customer contact options
While it’s a critical to build a standalone contact page on your ecommerce website, it’s good practice to include your business’ address, phone number, email, and even live chat on most pages. Many businesses add this information to a static footer on every page.
According to one study, businesses that chat with site visitors have a 48% increase in revenue per chat hour, a 40% increase in conversion rate, and a 10% increase in average order value.
Euka takes an automated approach with a chatbot option accessible from every page on its site. Meanwhile, Soko’s contact email sits in the footer of its website on every page.

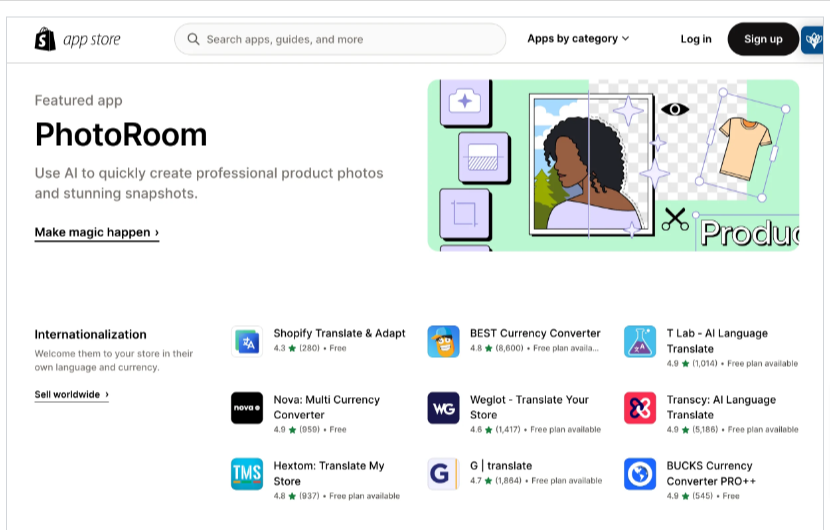
12. Install helpful apps and integrations
The Shopify App Store has plenty of apps that can extend your site’s functionality, but start small and choose only those essential to doing business efficiently. You can always layer on more as you grow.
New businesses should focus on apps to help with marketing, customer support, and conversions. Also look for apps that are specific to your type of business. For example, advanced size chart apps are great for apparel businesses. And, quiz apps can improve customer experience and reduce returns for brands with complicated products by helping customers make the right selection.
13. Set up your billing information
Before you go live, let’s make it official! If you’ve completed your free trial, choose the right plan on your ecommerce platform and set up your store’s billing information to ensure your store fees are paid on time and there are no issues.

14. Get your back office in order
Are you ready for the onslaught of orders as your highly sought after brand launches to the world? Ensuring that your processes are in order before you go live can help eliminate shipping delays, inventory issues, and customer service debt.
Again, apps can help automate some of your processes and systems baked into your business style guide, and training materials can keep everyone on the same page.
CTA Section
Looking to create an ecommerce website that builds trust, captivates visually, and drives conversions? If you’re in Mumbai, India, and need a custom Shopify design and development solution, your search ends here! Our team of expert Shopify developers in Mumbai, India, is ready to transform your ecommerce vision into reality. Get in touch with us today for a complimentary consultation!
More Related Links
How to take your business online: A step-by-step guide
14 must-have features for your e-commerce website
The Ultimate guide to designing e-commerce sites
About Author
 Meet Ritu, an expert writer in Shopify, ecommerce, and web development. Her articles provide insightful guidance navigating the online retail and web technology landscapes.
